SFX : TRACK / MASTER
SFX : TRACK / MASTER
SFX effects can be used on a single track or on the master output. The operation is the same in both places: open the SFX panel, turn on the section, add an effect, choose the effect type, then adjust its amount, stereo position, and detailed values. Track SFX changes only the selected track. Master SFX changes the final mixed output.
Effects can be stacked, and several effects can run at the same time. However, every active effect uses processing power. If too many SFX layers are enabled, playback may become slower, the browser may respond late, or the mixer may not run smoothly on weaker devices. Keep only the effects you need, turn off unused effects, and test playback after each major change.
STEP 1 FIND THE TRACK SFX BUTTON
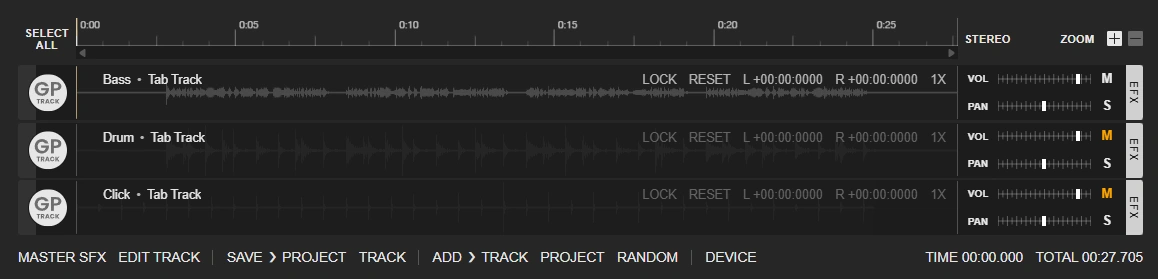
In Project Mixer, every track has its own SFX control on the right side of the track row. Use this control when the effect should apply only to that track, for example one guitar track, one vocal track, one bass track, or one drum track.
If you want the same type of processing on the whole mix, use the Master SFX area instead. The buttons and editing method are the same, but the result is applied to the master output instead of one track.
STEP 2 CLICK THE SFX POSITION
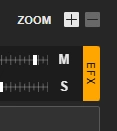
Click the SFX position shown in the track controls. This opens the SFX panel for the track you clicked. Before changing settings, make sure you selected the correct track, because each track has its own separate SFX chain.
STEP 3 CHECK THE OPENED SFX PANEL
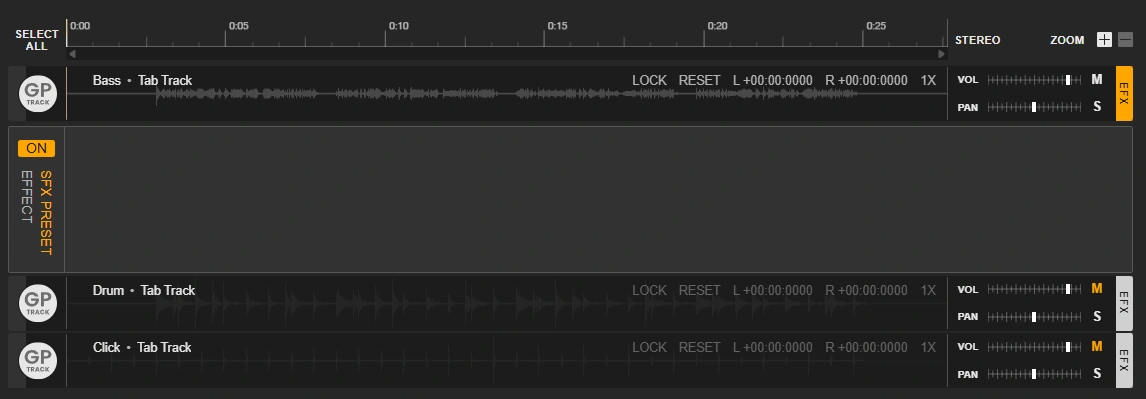
After the panel opens, the SFX controls appear on the left side of the mixer area. This is the effect workspace for the selected track. From here you can enable the whole SFX section, add manual effects, add preset effects, edit automation points, and change the values for each effect.
STEP 4 UNDERSTAND THE TOP CONTROLS
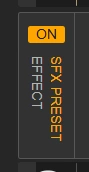
The top control area contains the main Track SFX ON / OFF button. Turn this on when you want the track's SFX chain to be active. Turn it off when you want to bypass all SFX for this track without deleting your settings.
The EFFECT button on the left adds a new effect manually. The button on the right adds the website's basic SFX presets. This guide focuses on the manual method, because it shows how to choose the effect yourself and control each parameter step by step.
STEP 5 ADD A NEW MANUAL EFFECT
Click EFFECT to create a new effect slot. You can add more than one effect slot and layer several effects together. For example, you may use delay and another effect at the same time, but always test playback after adding more layers.
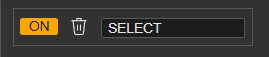
Each effect slot has three important controls. The left button is the ON / OFF switch for this individual effect only. The middle button deletes this effect slot. The right side is a select drop-down menu where you choose which effect type this slot will use.
STEP 6 OPEN THE EFFECT DROP-DOWN
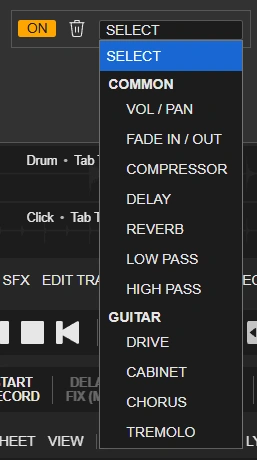
Open the drop-down menu to view the available effects. Different effect types provide different sound behavior and different editable values. Choose one effect from the list to load it into the current effect slot.
In this example, DELAY is used because it is easy to hear and it clearly shows how VOL, PAN, automation points, and effect values work together.
STEP 7 LOAD DELAY AND USE AUTO BANK

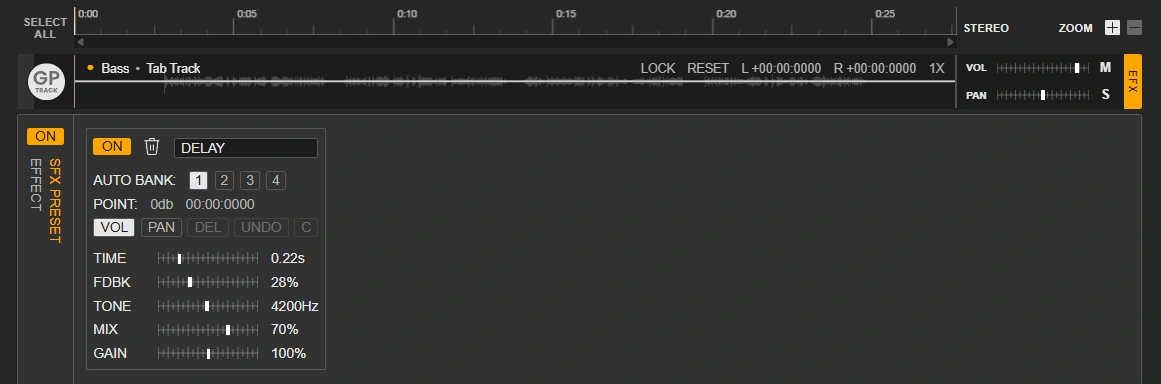
After DELAY is selected from the drop-down list, the effect slot changes to the delay effect. The lower area now shows controls that belong to this effect.
AUTO BANK provides four shared control channels: 1, 2, 3, and 4. These channels can be shared with other effects. When multiple effects use the same bank number, they can follow the same automation group, so you can control related effects together instead of editing each one separately. Use different bank numbers when you want separate groups.
STEP 8 OPEN VOL POINT CONTROL

POINT shows the editable value position for VOL and PAN. VOL controls how much of this effect is applied. PAN controls where this effect sits in the stereo field.
Use VOL first when learning the feature. Click the VOL point control to open the volume automation line for this effect.
STEP 9 ADD POINTS ON THE WHITE LINE
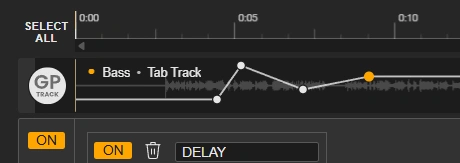
When VOL mode is open, a new white automation line appears inside the track. Click the white line to add a point, then move the point to set the value at that time position.
For VOL, the bottom of the track is 0 and the top is 100. PAN uses the same editing method, but the top represents the left side and the bottom represents the right side. This lets you automate both the amount of the effect and its stereo movement.
STEP 10 CONTROL EFFECT AMOUNT AND POSITION
By adding and moving points, you can control how much of each effect is applied during different parts of the song. For example, you can keep delay low during the verse, raise it at the end of a phrase, or move the effect left and right with PAN automation.
To delete a point, keep VOL or PAN mode open, click the point you want to remove, then press DEL. Use C only when you want to clear the points completely. After deleting or clearing points, one UNDO opportunity is available, so check the playback immediately before making more edits.
STEP 11 ADJUST THE EFFECT VALUES
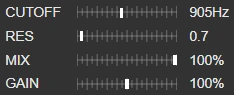
The bottom area contains the detailed values for the selected effect. Each effect has different controls, so the available values will change when you select another effect type.
Change one value at a time, then play the track and listen to the result. Small changes are easier to control. If the sound becomes too strong, reduce the effect amount with VOL automation, turn off the individual effect, or delete the effect slot.
LAST UPDATE: 2026-05-07
© 2026 Jamgather. All rights reserved.