PLAYLIST WORKFLOW
PLAYLIST CREATE / USE / AUTO MUTE
PLAYLIST WORKFLOW
Playlist is for building repeatable practice sets. It can combine projects saved in My Studio, Sound Separate projects, and favorite items, then open them in Project Mixer for continuous practice. The old Playlist Editor guide content has been merged here with the current step-by-step flow.
1. OPEN PLAYLIST EDITOR AND UNDERSTAND THE WINDOWS
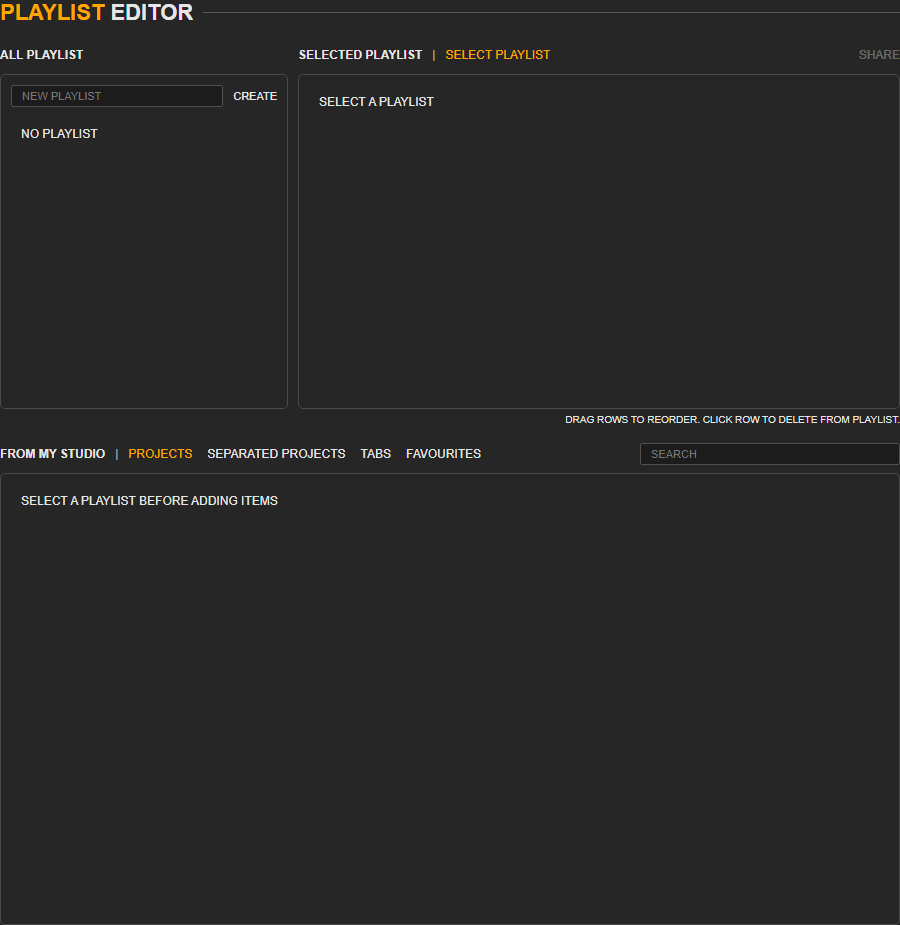
Playlist Editor is divided into three working areas: SELECT PLAYLIST creates and chooses playlist names, PLAYLIST shows the projects already inside the selected list, and ALL PROJECTS shows projects you can add.
STEP 1 - Click Playlist Editor
Open Playlist Editor from the left menu. Use it after you already have at least one saved project, Sound Separate project, or favorite project.
STEP 2 - Check the three windows
Read the screen from left to right: choose the playlist on the left, check selected playlist content in the middle, then add available projects from the right.
STEP 3 - Confirm playable sources exist
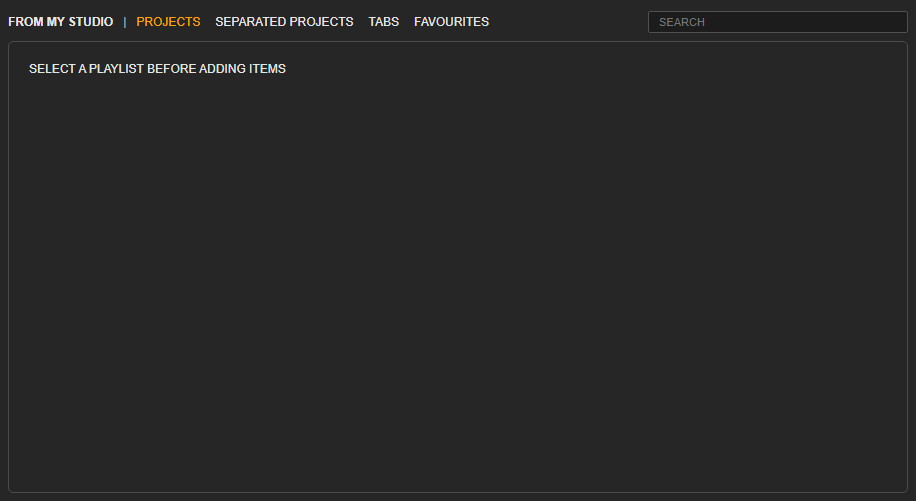
Projects created with Project Mixer, Sound Separate projects, and projects added to My Favorites can be used as playlist material.
2. CREATE A PLAYLIST
Create the playlist name first, then make sure the correct playlist is selected before adding songs.
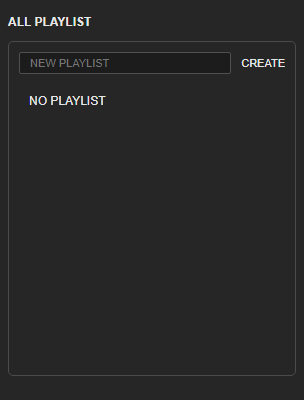
STEP 1 - Click ADD NEW PLAYLIST
Click ADD NEW PLAYLIST, type a clear playlist name, then confirm.
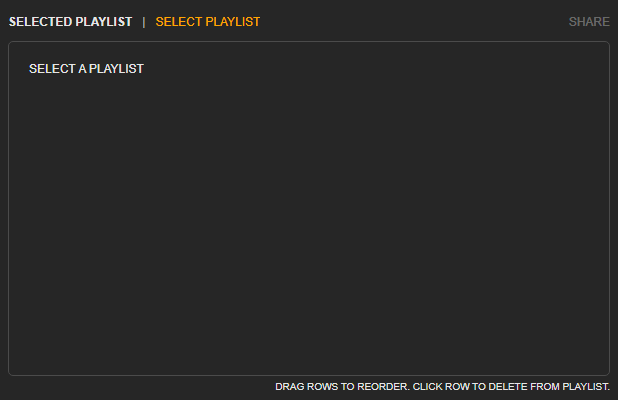
STEP 2 - Select the new playlist
After creating it, click the new list in SELECT PLAYLIST. The active name appears beside PLAYLIST [LIST NAME].
STEP 3 - Add or remove projects
Click the add icon from ALL PROJECTS to add an item. Click the delete icon in PLAYLIST when an item should be removed from this list.
STEP 4 - Use the left side shortcut later
After saving, the playlist appears under MY PLAYLIST in the left side bar so it can be opened quickly.
3. USE A PLAYLIST IN PROJECT MIXER
When a playlist opens in Project Mixer, the playlist bar appears above the track area. This bar only appears during playlist playback.
STEP 1 - Open the playlist in mixer
Open the playlist from MY PLAYLIST or Playlist Editor. Project Mixer loads the first item and shows the playlist title.
STEP 2 - Move between songs
Click BACK or NEXT to move through the playlist. Keyboard left and right arrows can also be used where supported.
STEP 3 - Use RANDOM for practice variation
Click RANDOM when you want the next item chosen from the playlist instead of the normal order.
4. PLAYLIST AUTO MUTE
Auto Mute turns the playlist into a practice backing flow by muting the same instrument role on each song when possible.
STEP 1 - Click AUTO MUTE
Click AUTO MUTE on the playlist bar. Choose the instrument or track role you want removed, such as vocal, guitar, bass, or drums.
STEP 2 - Check the muted result
Jamgather mutes matching tracks on each playlist item. Track names can differ between projects, so always check the first playback.
STEP 3 - Correct special songs manually
If one project uses a different track name or role, adjust mute/solo manually for that song before continuing practice.
LAST UPDATE: 2026-05-06
© 2026 Jamgather. All rights reserved.